Electrocardiography
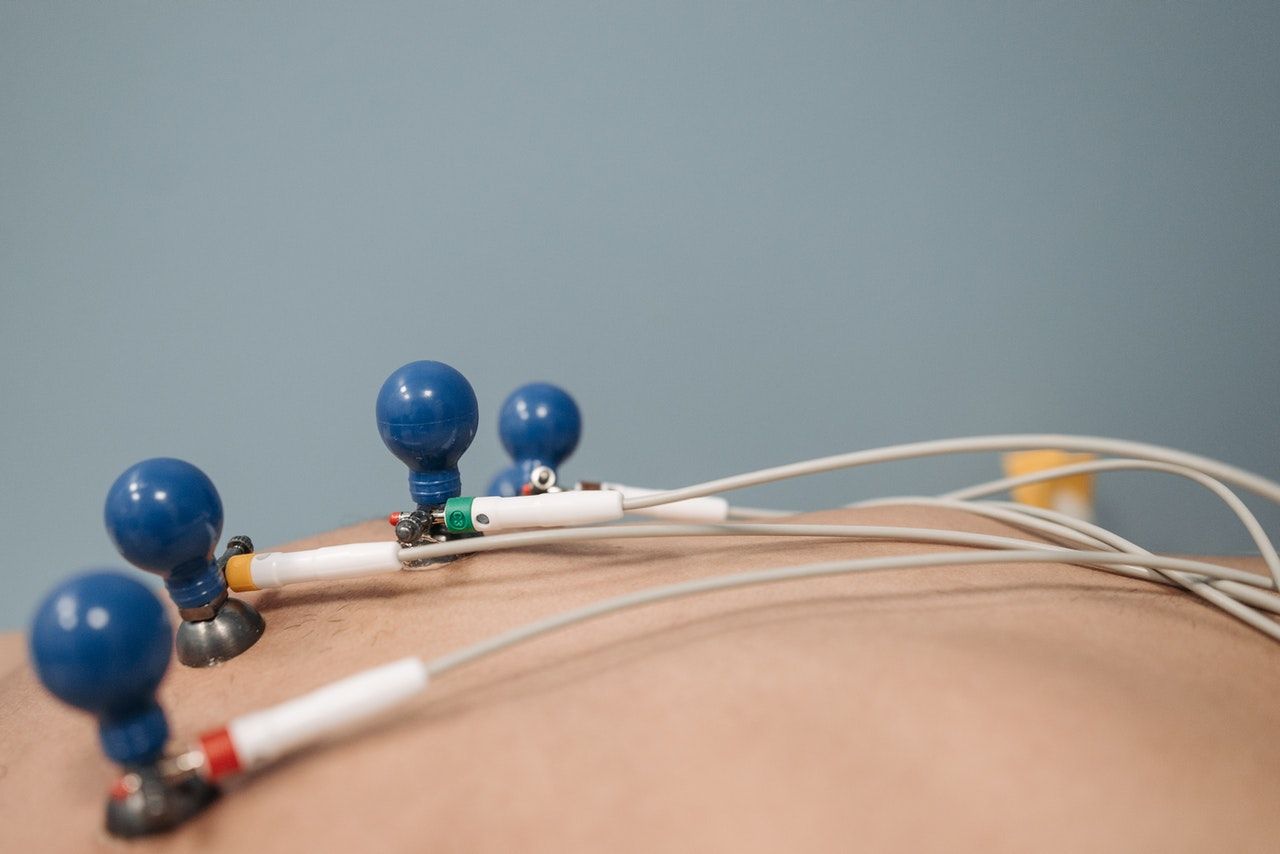
Electrocardiography (ECG) is a technique that detects the electrical signals from a patient's heart and then records it on to a strip of paper. An ECG is a basic investigation that all junior doctors have to be comfortable at doing. It allows the clinician to see the electrical activity of the heart. It is a simple and invaluable tool to help make a diagnosis. It is important to know exactly where the leads are placed as incorrect lead placement could result in a poor trace that could miss underlying cardiac pathology such as a myocardial infarction.
Indications and contraindications
- Chest pain
- SOB
- Collapse
- Palpitations
- Pre-op
- Electrolyte abnormalities
- Many more… if in doubt just do one!
Contraindication
lack of consent
Equipment
- 12- lead ECG machine
- Adhesive ECG stickers
- Adequate ECG paper
- Razor – may be required.
Introduction
1. Wash hands
Wash your hands using the Ayliffe technique
2. Introduce yourself
Introduce yourself and give your name and grade
3. Check patient details
Clarify patient's identity by confirming name and asking for their DOB
4. Describe procedure
Explain what you will be performing and what it involves
5. Gain verbal consent
6. Offer a chaperone
Pre-Procedure
- Position patient at 45 degree angle
- Gather equipment
Procedure
Remember ‘Ride Your Green Bike’ in a clock wise manner from the right wrist.
- Place ECG chest stickers as shown in video above and attach leads
- Attach limb stickers and leads, ensure they are attached to bony prominence at wrist and ankle to ensure a good trace
- Turn machine on and enter patient details
- Explain the importance of relaxing to patient for the procedure as moving causes artifacts
- Press record and review ECG once printed
End of Procedure
1. Thank patient
Let the patient know you have finished examining them and thank them for their time. Be courteous and offer them help to get redressed.
2. Accurate documentation
Ensure that you have written patient details on the ECG, as well as signing it to show it has been reviewed. Thereafter, write in the patient notes summary of findings and management plan.
Complications
Allergic reaction to ECG stickers
Top Tips
- ECG stickers don’t stick well to hair, consider shaving patches for better contact – seek consent first!
- Do not rely solely on the ECG machine’s interpretation for diagnosis, these can be sometimes misleading.
- If the trace is poor it may be due to poor ECG sticker contact or miss placement. If this persists and the patient is keeping still then consider changing the lead set.
- If the stickers aren’t attaching to the patient, wipe away the sweat and try again.
- Always document patient details on ECGs and the time – this allows you to look back at serial ECGs and stops them from getting lost.
Doctor Khalid Newsletter
Join the newsletter to receive the latest updates in your inbox.


